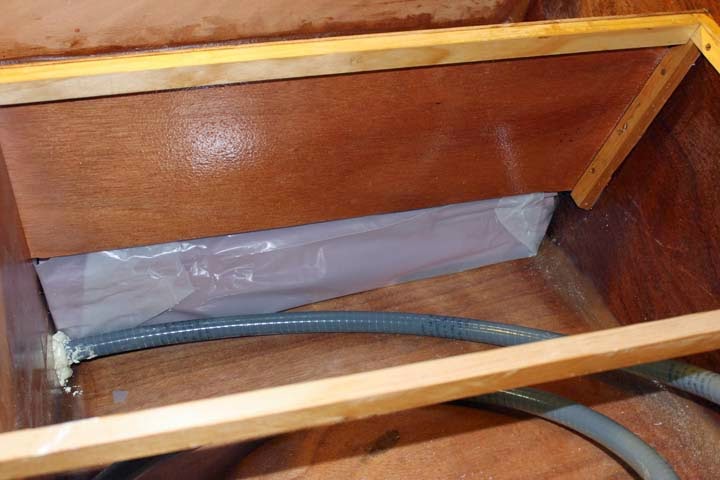
The forward compartment is also filled with floatation foam. Shown here, a tunnel has been created in the middle of the compartment.
This is to allow access to the bow-eye, which cannot be installed until the boat is nearly finished. Access is provided through the inspection plate seen in the storage compartment. From this angle it does not appear to be aligned with the tunnel, although it of course is. I cut the first two foam pieces to fit very snugly, but it required quite a bit of twisting and maneuvering to get them in place in the bow, especially with the wooden breasthook in the way. You can see the breasthook in the upper left. Because of that and the bow's shape, the remainder of the foam is made up of variously-sized rectangles and odd scraps, which allowed me to fill it completely, leaving very few empty spaces. After the bow-eye is installed, long rectangular pieces that will fit through the inspection hole will be added in order to fill the bow compartment with foam as thoroughly as possible.Here is a shot of the tunnel from straight overhead.
 |
| Bulkhead 2 Doublers |
Checking through the builders' forum I found that a few people had problems with the mast pulling bulkhead 2 away from the cabin roof slightly under high wind load. This could only happen if the shrouds were loose, but I suppose things like that can happen. The recommended fix is to install doublers to shore up the bulkhead and provide more gluing area to the roof (and to keep the shrouds tight). I found some scrap pieces of plywood that I think will do the job very well. They have just been glued here and are being held in place with temporary screws.
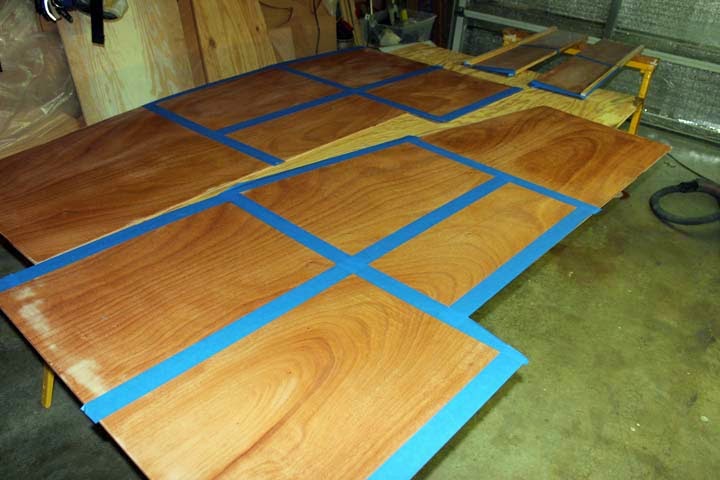
Next on the list is to install the forward deck over the bow compartment. The underside of the deck received three coats of epoxy to strengthen it and prevent water infiltration.
 |
| Forward Deck Underside |
 |
| Forward Deck Installed |
Interestingly enough, the braces are held in place with hot-melt glue (temporarily stitched with wire. The braces will also be filleted, but I found the hot-melt glue provides a very strong bond--I used acrylic glue. I tested the glue on some scraps and when I pulled them apart, wood came off with the glue.
The next step is to stitch in the rear cabin wall, shown here.
I have a temporary prop holding the wall at the approximate correct angle, but it will be easy to set it to the exact angle when the topsides panels are installed.
 Here is a shot of the topsides panels stitched nearly in place. Later I will gradually tighten the stitches as I work to get the panels as perfectly placed as possible.
 And here you can see the view from the bow, which begins to show more of what the finished boat will look like. There is still a roof and companionway to install over the cabin, seatbacks, and quite a few more odds and ends to accomplish before I am ready to flip the boat over and work on the hull. But, it is really starting to come along.


