
This blog documents the progress on a sailboat I finished building in 2015, the "PocketShip" pocket cruiser from Chesapeake Light Craft, http://www.clcboats.com. (Picture copied from CLC website.)
Tuesday, August 28, 2018
Tuesday, May 16, 2017
Ready to Head for the Lake

She's a sailboat again!

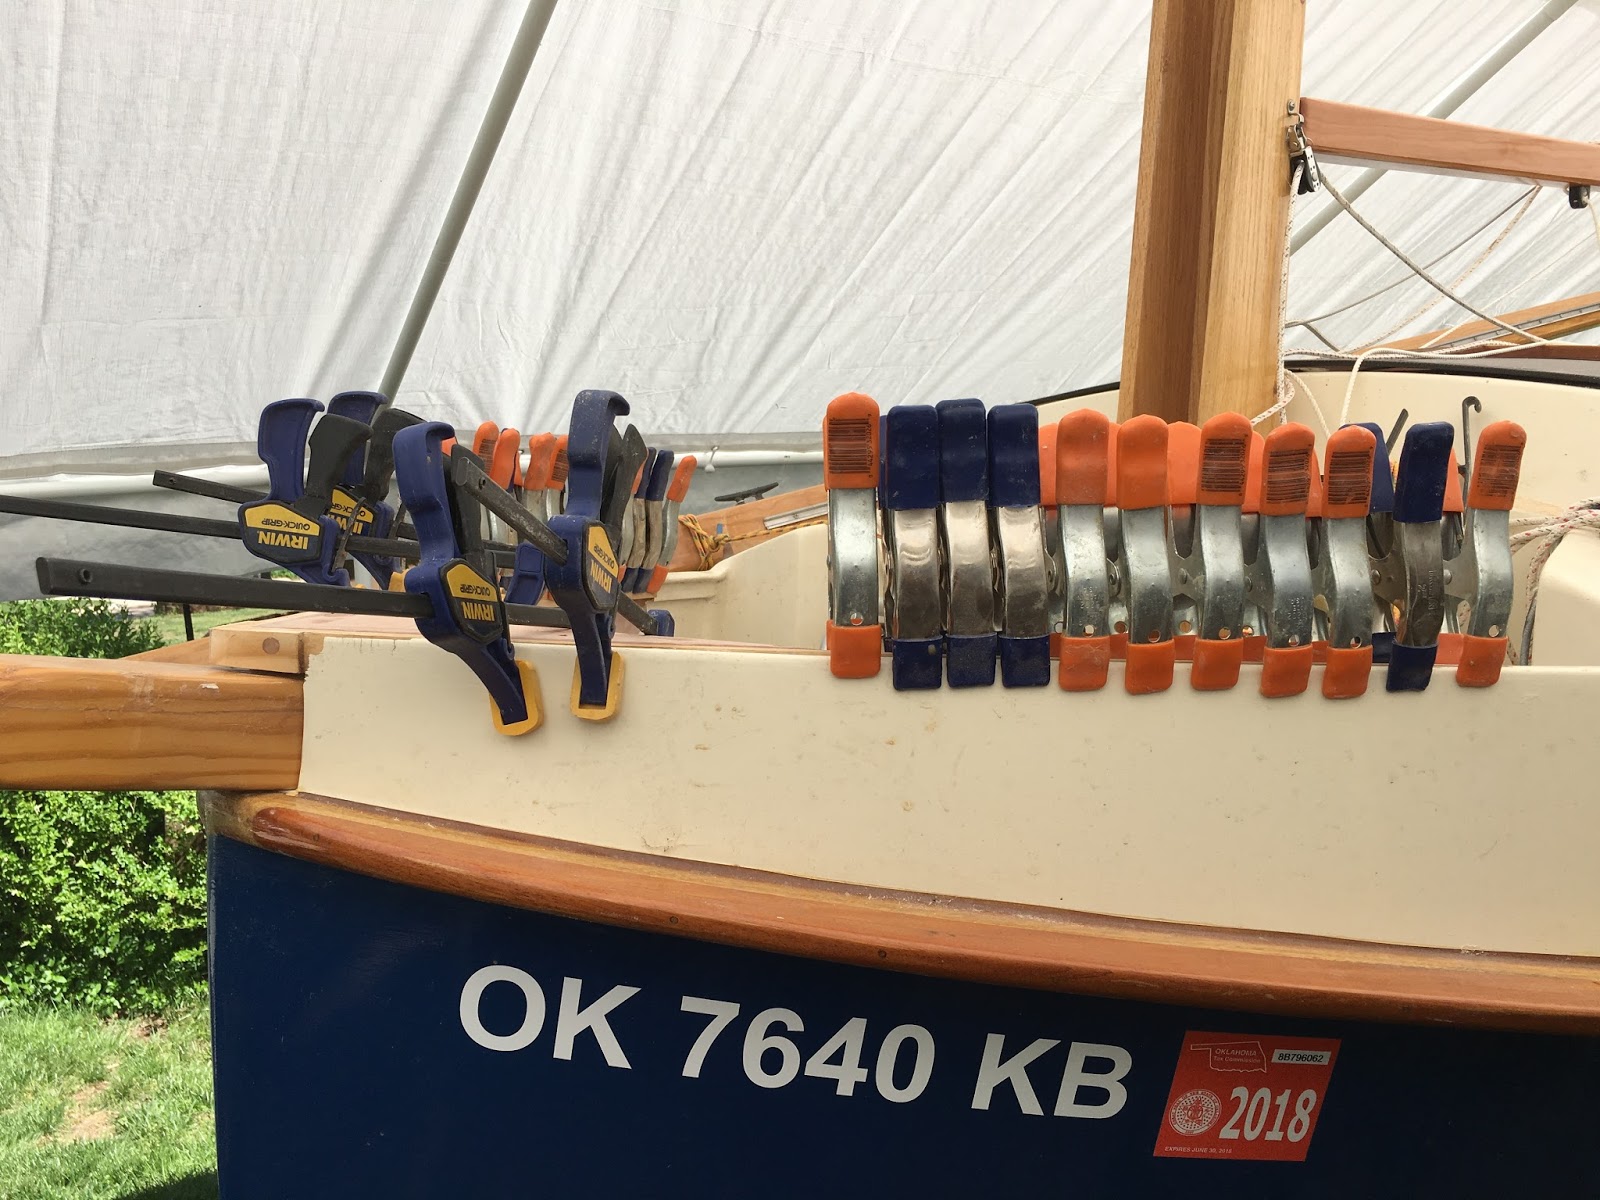
Now I'm just waiting for the weather to cooperate.
I discovered today, though, that one of the shrouds was damaged. Still appears to be plenty strong but I'm going to replace it as soon as I can.
Monday, May 15, 2017
Gaia is Whole Again at Last

The original stringer was glued to the plywood, so I had to cut out a relief on the replacement to allow the plywood to fit flush with the nose end of the stringers.


Bowsprit restored! All it needs now is four or five coats of varnish.

The breasthook and stringers all glued in place. Three or four coats of paint and Gaia is ready to be re-rigged.

Painting finished. I have repaired and replaced the old tabernacle so I can get the boat back on the water. The tabernacle is constructed of red oak and was always intended for replacement at some point. I have purchased white oak for the purpose and will begin construction of the new tabernacle sometime soon. I'm glad I bolted the tabernacle in instead of gluing it. If I had glued it I would have badly damaged the front of the cabin removing it. I plan to also bolt the new one and not glue it. I don't see any point in gluing it--all the side pressure on the mast is taken up by the jib stay and shrouds. If one of those breaks under extreme stress, the tabernacle will probably sustain the most damage, and again, it can be unbolted and replaced.

The bowsprit is varnished and ready to go. I decided to varnish the tiller too--it takes a beating. My plan is to fashion a new tiller from the white oak also, but the old one will serve just fine for now.
So all I have to do now is re-rig and bend on the sails and she's ready for the water!
Monday, May 8, 2017
Starting to "See Light at the End of the Tunnel"


. . . and to glue a large split on the other side. This will get me back on the water sooner. I have purchased white oak to construct a new tabernacle but now I can wait and build it at my leisure.


Saturday, May 6, 2017
A Little More Progress

I was able to trace a fairly accurate outline of the breasthook using what is left of the old one.

From that I was able to fashion a replacement. CLC Boats sells scraps of wood for various projects and they were able to find me some of the right size to make this from.

The pieces I steam-bent will fit very well. They are actually a little too curved in spots but that will be easily dealt with.

Here the steam-bent stringers have been screwed to the breasthook so I could cut the ends. Ready for glue-up!

Tuesday, April 25, 2017
Steam-bending Second Stringer Using PVC Pipe
As you saw in the previous post, the wood I used to build a steam box was too thin and split in half on both end caps. Rather than repair it I decided to build a new steam box of PVC pipe. It turns out PVC pipe works very well for this purpose, and saves a lot of time and effort building a wooden steam box for every project. There was some worry that the pipe would melt or sag but that was not the case.
 After assembling the steamer box using a 5' x 4" PVC pipe with end caps, I ran the steam generator at 212 degrees as a test for over an hour with no ill effects to the pipe.
 Just in case the pipe might sag in the middle, and to keep it from rolling I cut a groove down the middle of a 3' board and placed it under the pipe. A block under the front end of the board causes water to flow to the drain hole at the rear end of the pipe, the end where the steam hose connects.


 Condensed water flows to the rear end of the pipe and out a drain hole into a bucket.

 While it is still hot, the stringer is quickly clamped onto the form. After a couple days, I'll remove the stringer from the form. The next step is to cut a new breasthook and attach the stringers to it. Attaching the stringers and breasthook to the boat presents some problems, but I'm starting to work them out. The original stringers were hand-bent cold, but they extended 8 feet back on to the boat. Trying to duplicate that bend on the two-to-three foot replacements required steam bending.


Rather than drill holes in the sides of the pipe and put dowels in to support the stringer, I simply placed several small blocks inside. The stringer is sitting on the blocks, so that steam can reach all sides. There is also a block supporting the thermometer--probably not necessary.

The end cap has been screwed in place and the steam generator started. You might be able to see a small hole in the cap to allow excess steam to escape.


Luckily I had a set of very long tongs which were helpful in removing the stringer after steaming for an hour. The green sponge is to catch a small amount of water that flowed around the side of the end cap. I decided not to glue the end caps on because I do not know how the heat will effect the glue, and so I can use the same end caps with different lengths of pipe.

Sunday, April 23, 2017
Steam-Bending Stringers
Things went fairly well on the first stringer, except for a couple minor hitches.


 The split did not cause any problems. The wood bent very easily around the form. Here you can see it clamped and ready to set aside for a day or so to cool and pretty-much retain it's shape. I could put thicker doors on the box for the second stringer, but I think I'll try the PVC pipe method that a lot of people use. More about that in the next post.

A little hard to see but here is the bow section of the plans "lofted" onto a piece of poster board. (I had to tape a small piece in the lower left corner to get the whole thing to fit.)

I forgot to take pictures, but I laid the poster board on a piece of 3/4" plywood and drove a finish nail at each station point. The station lines are the vertical lines in the drawing, 6" apart. I then used a thin piece of wood as a "spline" and bent it around the nails to guide my pencil. I cut out the curve on the plywood and drilled holes for the clamps.

The steam generator is busy pumping steam into the steamer box.

This is just a meat thermometer. The temp is exactly 212 degrees.

Looks like I should have used thicker wood! This is only 1/2" lumber. The temp dropped to about 208, then I put some duct tape over the split and got it back up to around 210 for the last few minutes of steaming.

Subscribe to:
Posts (Atom)