
The transom skirt and trim finish the top of the transom. (Sorry, didn't get any pictures of installing the transom skirt itself.) The trim is fashioned from two lengths of wood cut into trapezoidal shapes along their length.
Here the first piece of the trim has been glued in place in clamped. The second part is lying across the boat in front of it.
This is the finished trim, ready for epoxy later on. A little hard to see, but I think you get the idea.

Jan felt the blog should include more pictures of me, so here I am pretending to sand the starboard cockpit seat . . .

and the starboard seatback.

In this shot fiberglass sheathing has been applied to the cockpit seats.

And here the seats have their first coat of epoxy applied.
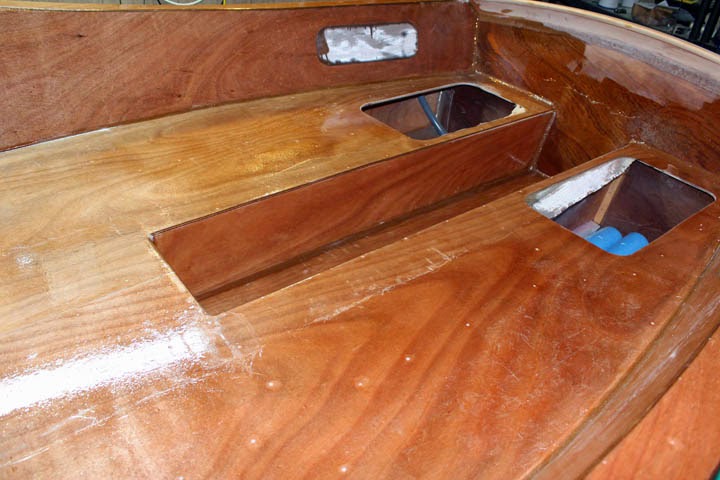
In this shot fiberglass sheathing has been added to the footwell, and the seats and footwell have all had two coats of epoxy applied. I was unable to get back and add the third coat soon enough, so I will have to sand the whole area before I can apply it.

So, I added the sheathing for the cabin deck and applied its first two coats of epoxy. After that cures I'll give the cabin deck and cockpit a good sanding and apply the third coat to both.
No comments:
Post a Comment