
 |
| Centerboard Trunk |
 |
| Noseblock in Progress |
This is the noseblock, which now needs angled cuts at the top and bottom. It started out as two chunks of 2x6 glued together.
I like to be able to show this kind of picture to those who ask if my boats are made from a kit and when I say yes, give a look that seems to say, "Oh, then all you had to do was put it together, like a model airplane." The truth is, there is a lot more to it than that. I improved my woodworking skills and learned many new skills building my previous two boats, a kayak and a sailing dinghy. About all the PocktShip kit contained was the pre-cut plywood parts, some epoxy and epoxy thickeners, fiberglass cloth, and a few other odds and ends. Loads of wood parts, like this noseblock and the spars (beams used to support the sail and so on) are all made from standard lumber. That being said, my hat is off to those who build from plans. I don't know if I would ever finish this project if I tried to build it from plans, and it would probably cost me more than the kit because of all the botched plywood parts I would have to throw out. The plywood parts in the kit are precision-cut with a computer (CNC router).
 |
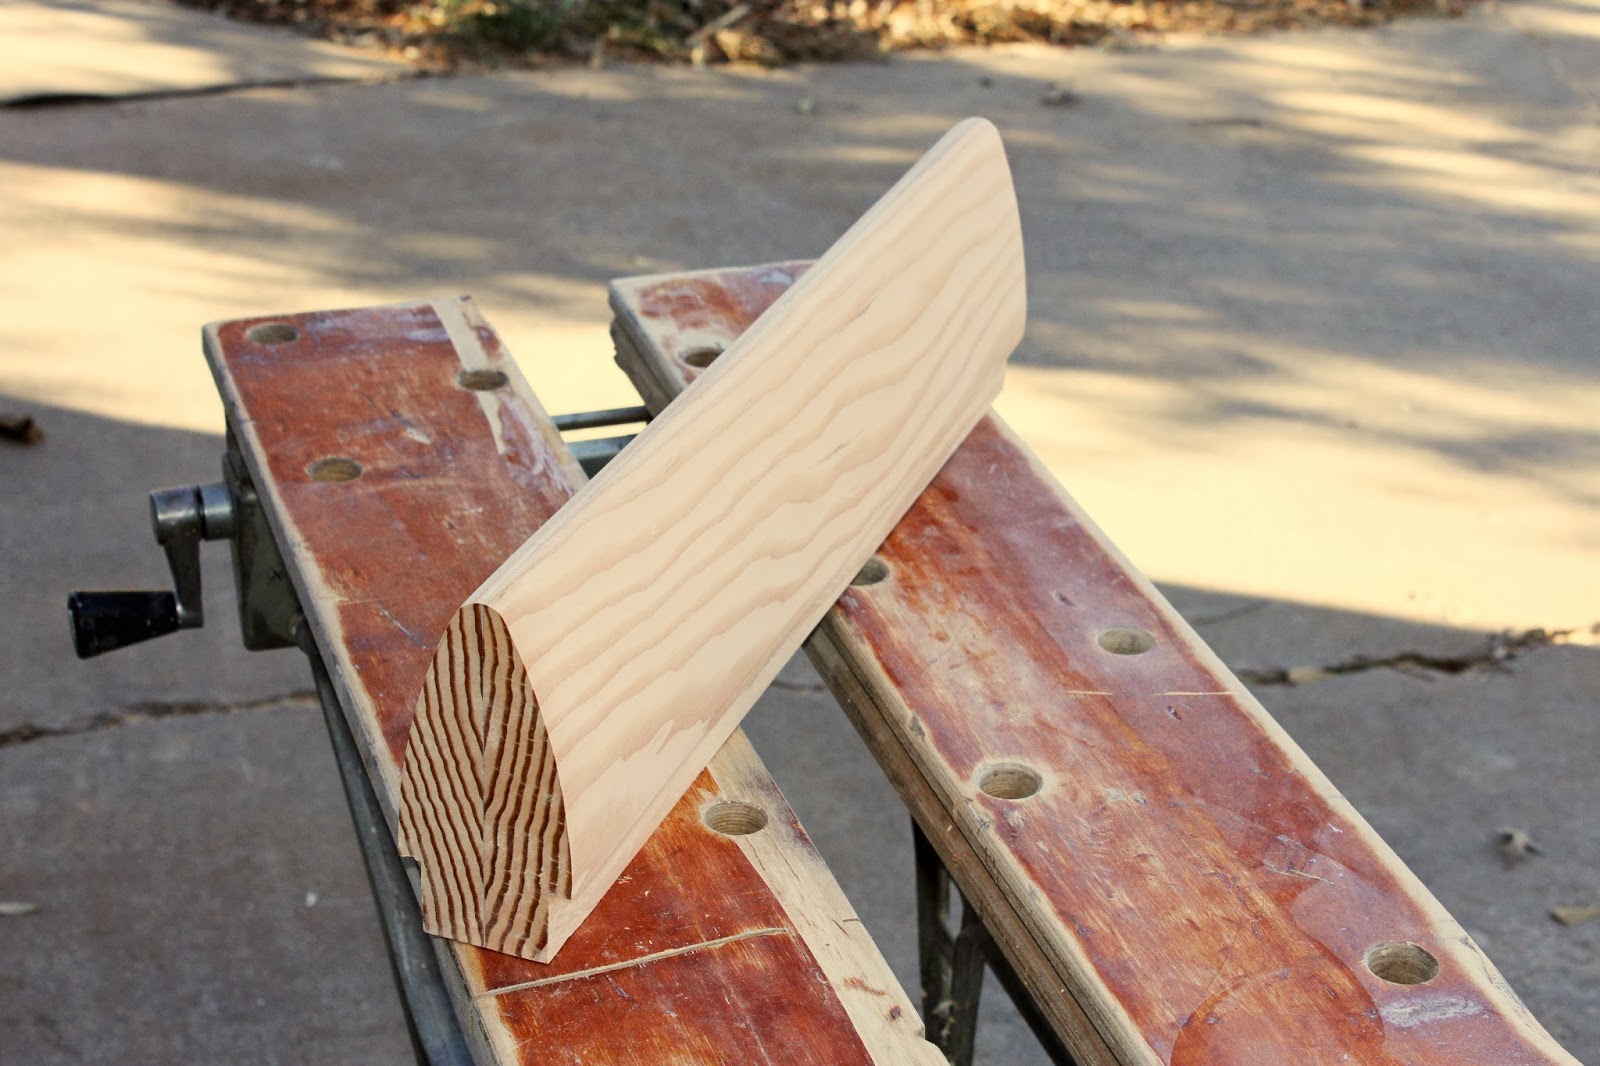
| Noseblock Ready for Second Cut |
Here, the lower, straight noseblock cut has been made with the table saw. The upper cut is curved (can't tell from the picture) so I will have to make that cut on a bandsaw.
You may have noticed the safety cover is removed from the table saw. I could not figure out a way to make the cut with it or the kickback pawls attached. The riving knife at the back of the blade is still there--a big help.
This comment has been removed by the author.
ReplyDeleteTalk about memories! Just a few months ago. Anyway, on not having a band saw, when my band saw blade broke I had to go old school for a week. Try locking the nose block in a bench vise and then sawing through it. Yep, the old fashioned way! Then sand it to spec.
DeleteRight. I plan to use a jigsaw (saber saw) to cut it, but pretty far away from the line because the blade bends a bit. Let me know if you think there is a better way--maybe a thin pullsaw?
DeleteSure, there are a lot of ways to do it. I would avoid, however, the table saw. Just too small and delicate a piece, and risky even with the jig you've got. A jig saw could work but the blade isn't probably long enough.
DeleteOnce vise'd up, you could drill holes with a large drill bit to slough off chunks. Then from there, use whatever's available. Coping saw through each of the holes; Japanese saw (which is what I used); thin pull saw (will be easy with the pine).
Got access to a bandsaw. Looks pretty good, but needs more sanding. I just hope it matches up with the hull curve--no way to check ahead of time that I can see. I used a spline (batten) to get the curve as fair as possible, so will just have to wait and see.
ReplyDelete